Quality Drywall Installation That Changes Your Interiors
Quality Drywall Installation That Changes Your Interiors
Blog Article
Total Overview to Reputable and effective Drywall Installation
Drywall installation is a crucial component of any type of building or restoration task, demanding a meticulous technique to ensure both performance and dependability. It is essential to discover the subtleties of each step in the procedure, as they collectively contribute to the overall success of the drywall installation.
Necessary Tools for Drywalling
When starting a drywall installment job, having the right tools is vital for achieving an expert finish. Essential devices consist of a drywall blade, measuring tape, and a T-square, which are basic for accurate dimensions and smooth cuts. A drywall lift is additionally extremely helpful, particularly for ceiling setups, permitting easier handling of heavy panels.
For fastening the drywall, a cordless drill and drywall screws are needed. The drill ought to be outfitted with a drywall little bit to ensure effectiveness and accuracy. Furthermore, a key tool is the drywall saw, which facilitates reducing around other barriers and electric outlets.
Additionally, protective equipment such as shatterproof glass and a dust mask are important to guarantee individual safety and security during the installation procedure. Utilizing the right tools not only enhances the top quality of the installation but also streamlines the process, making the project much more effective total.
Preparing the Space
Following, analyze the condition of the walls and ceilings. Repair any type of existing damages, such as holes, splits, or peeling off paint, to make sure a smooth and also surface area for drywall application. In addition, look for electrical outlets, pipes lines, and HVAC air ducts, noting their areas to prevent difficulties throughout installment.
It is additionally vital to determine the room precisely, establishing the measurements of the walls and ceilings to calculate the suitable amount of drywall needed. Produce a thorough plan that includes the layout and positioning of the drywall panels.
Installation Strategies
Effective setup methods are vital for achieving a professional coating browse around here in drywall jobs. Appropriate dimension and cutting of drywall sheets are essential steps. Always gauge the wall surface room properly, enabling for any type of switches or electrical outlets. Utilize an energy knife for clean cuts, racking up the paper face and snapping the board along the racked up line.
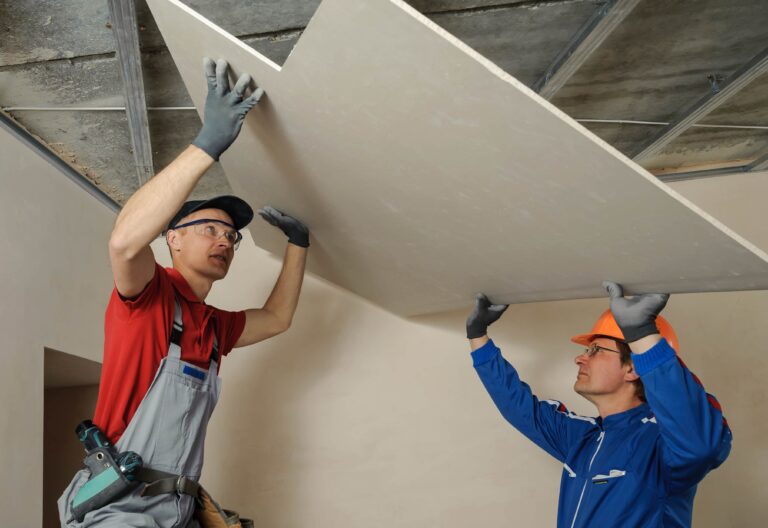
When hanging drywall, begin with the leading and job downward, making sure that the long side of the board is perpendicular to the framework. Safeguard the sheets with screws instead of nails, which supply greater holding power and reduce the threat of popping. Location screws every 12 inches along the edges and every 16 inches in the field of the board.
For corners, make use of corner grains to attain sharp, tidy sides. When setting up on ceilings, use a drywall lift or have a companion assist in holding the sheets in position (drywall installation). Preserve a gap of about 1/4 inch above the flooring and ceiling to accommodate expansion and tightening
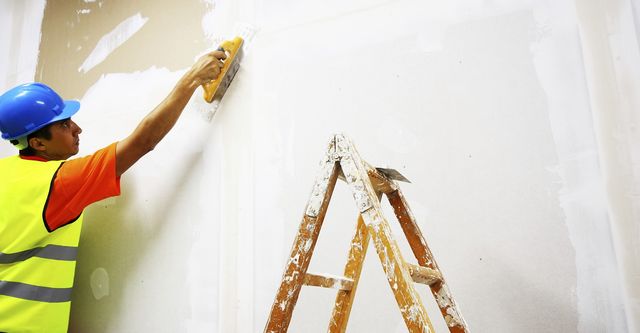
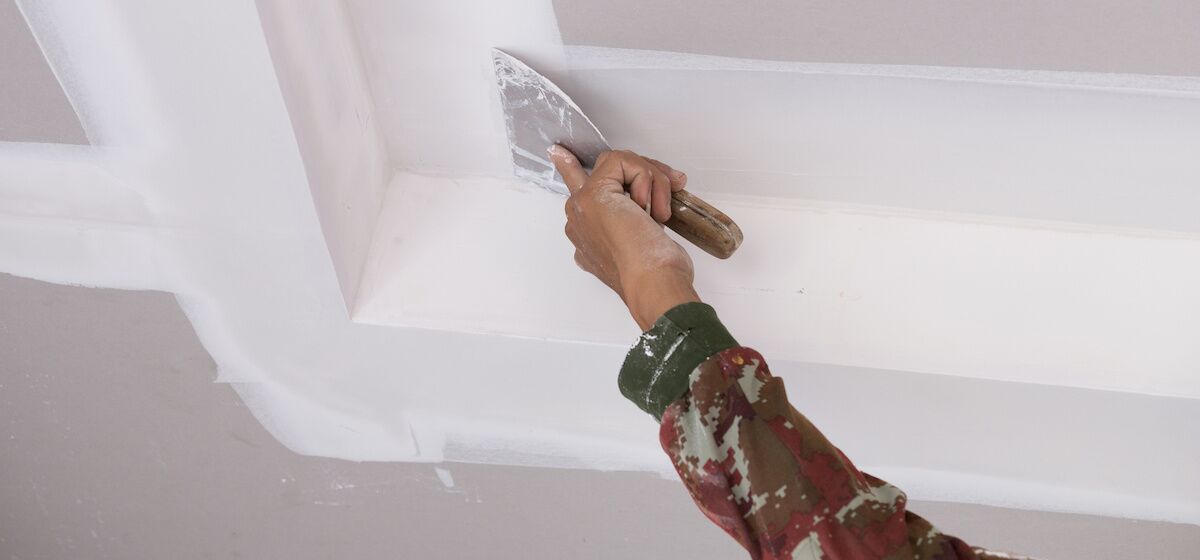
Ending Up Touches
Begin by applying joint tape over the joints. This can be either paper or fiberglass harmonize tape, with paper being preferred for its longevity. Once the tape remains in area, it's time to use the very first layer of joint compound, additionally referred to as mud. Make use of a 10 to 12-inch taping knife to spread out the substance evenly over the taped joints, feathering the sides to blend with the bordering drywall.
Permit the substance to completely dry extensively, usually 24 hr. After drying out, sand the surface area lightly with fine-grit sandpaper to get rid of any kind of flaws. drywall installation. Repeat the mudding and fining sand process, usually 2 to 3 layers, making certain each layer is smooth and flush with the drywall surface area
Usual Errors to Prevent
Many DIY enthusiasts experience risks during drywall setup that can compromise the last outcomes. One usual error is stopping working to correctly measure and cut drywall sheets.
One more frequent error is inappropriate additional resources attachment. Utilizing too few screws or nails can bring about loosened drywall, while overdriving bolts can cause the paper to tear, damaging the structure. It's vital to maintain constant spacing, usually every 16 inches, and to ensure that fasteners are flush with the surface area.
Furthermore, not addressing wetness concerns prior to installation can cause mold growth and structural damage. Always examine the setting and use moisture-resistant drywall in high-humidity areas.
Conclusion
Reliable and dependable drywall installment calls for meticulous attention to information throughout the procedure. Staying clear of common blunders additionally adds to a professional outcome, underscoring the value of accuracy and method in successful drywall tasks.
It is necessary to explore the subtleties of each step in the process, as they collectively add to the overall success of the drywall installment.When getting started on a drywall installment project, having the right tools is critical for accomplishing a specialist surface.For attaching the drywall, a cordless drill and drywall screws are necessary.Properly preparing the room is crucial for an effective drywall setup.Effective installation techniques are critical investigate this site for accomplishing a specialist surface in drywall projects.
Report this page